Camera technology
Many of our standalone camera systems are used in plant research to non-destructively provide detailed insights into plant performance. The most popular measurements are those of photosynthetic efficiency. In combination with other measurements like chlorophyll content and morphological traits (see our website or related blogs), these parameters can help answer difficult research questions.
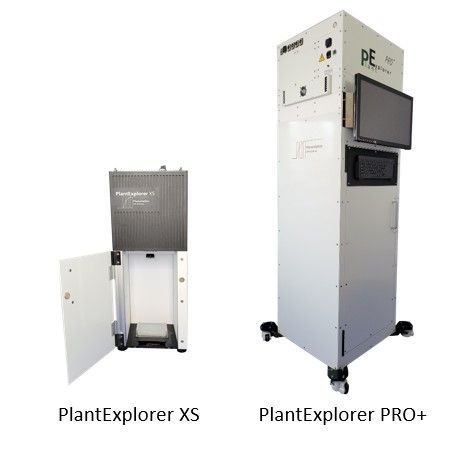
The PlantExplorer XS, PRO, and MAX systems have dedicated measurement chambers. This ensures minimal interreference from external factors and allows for proper dark adaptation, which is essential for measurements of chlorophyll fluorescence.
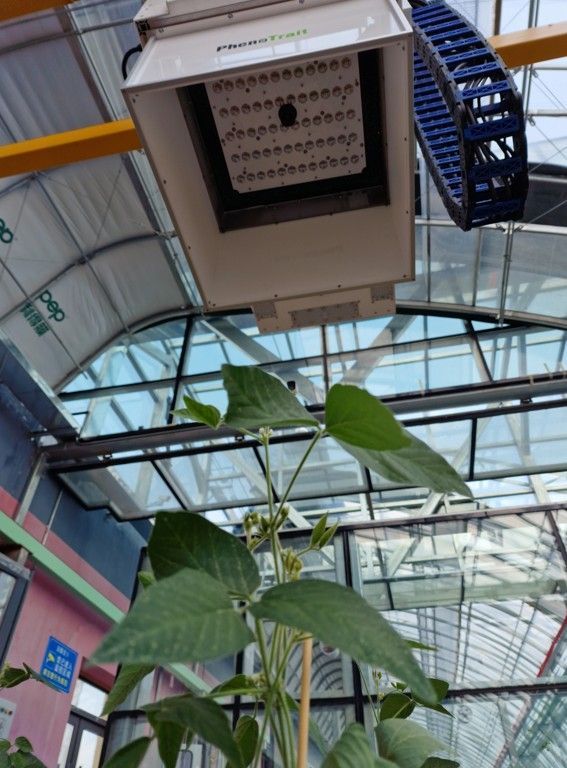
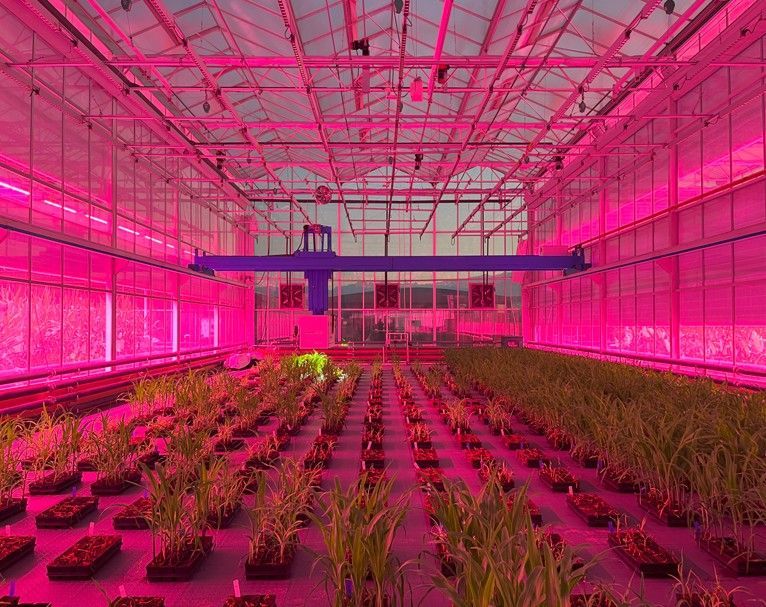
In contrast, systems like the PRO FIELD operate in an open environment. The PRO FIELD is frequently integrated into gantry systems for large-scale field experiments, where the camera moves over the plants to capture data across extensive growing areas (see images below).
But what makes a good image?
For plant research, it goes beyond aesthetics. Image quality is not only about sharpness, but also about factors like signal-to-noise ratio, dynamic range, and optical accuracy. It is a balance between light, sensor performance, and the optical setup of the system.
Image quality directly influences signal reliability, biological interpretation and ultimately the conclusions you can draw from the data.
In this blog I will dive deeper into the PhenoVation systems. I’ll cover the basics of camera technology, explain key differences in the system’s camera specifications, and go over how to set up the system for a measurement.
We’ll start with the basics.
Camera sensor
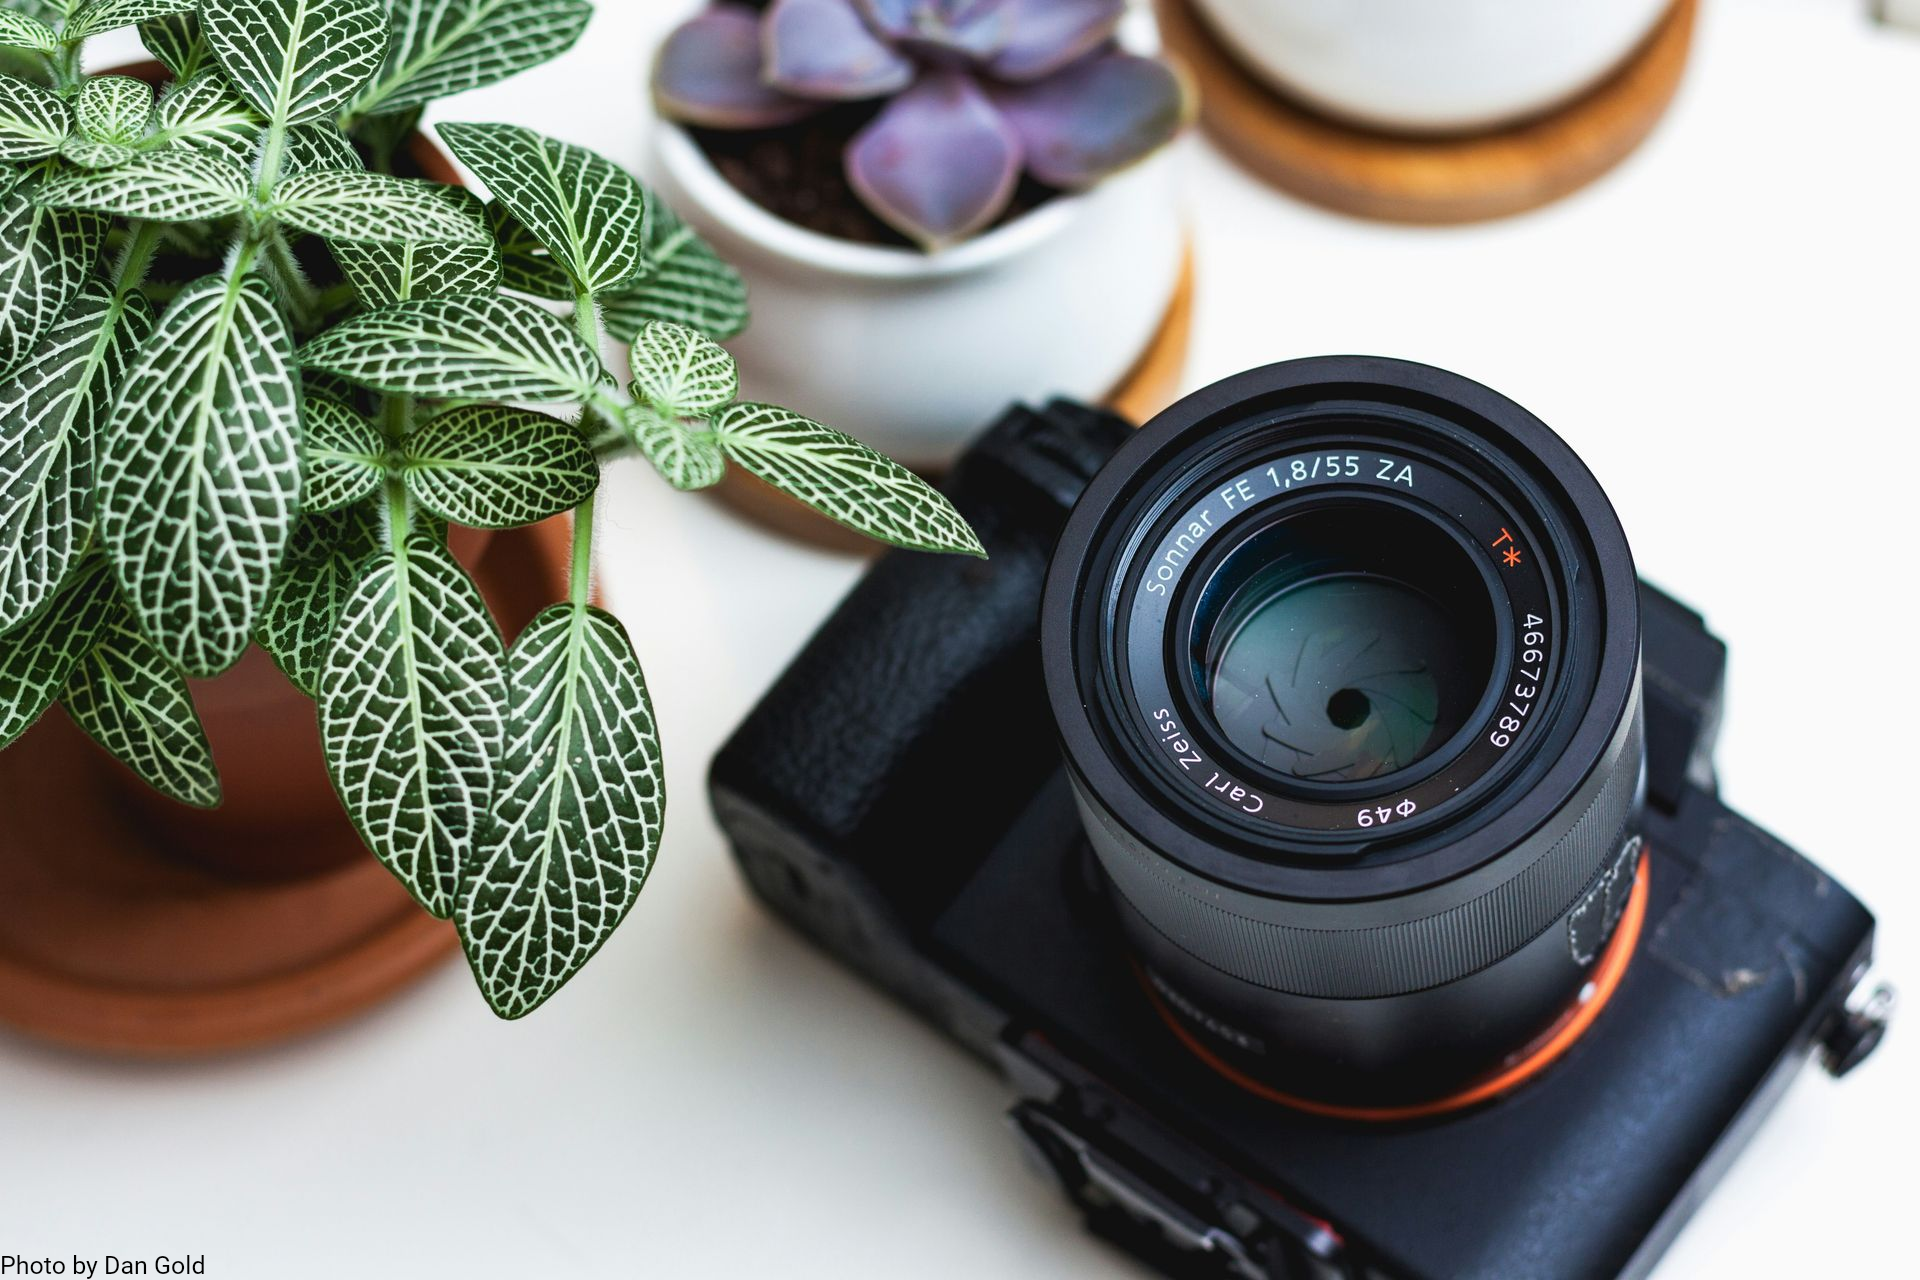
Of course, to make an image you'll obviously need a camera and a lens.
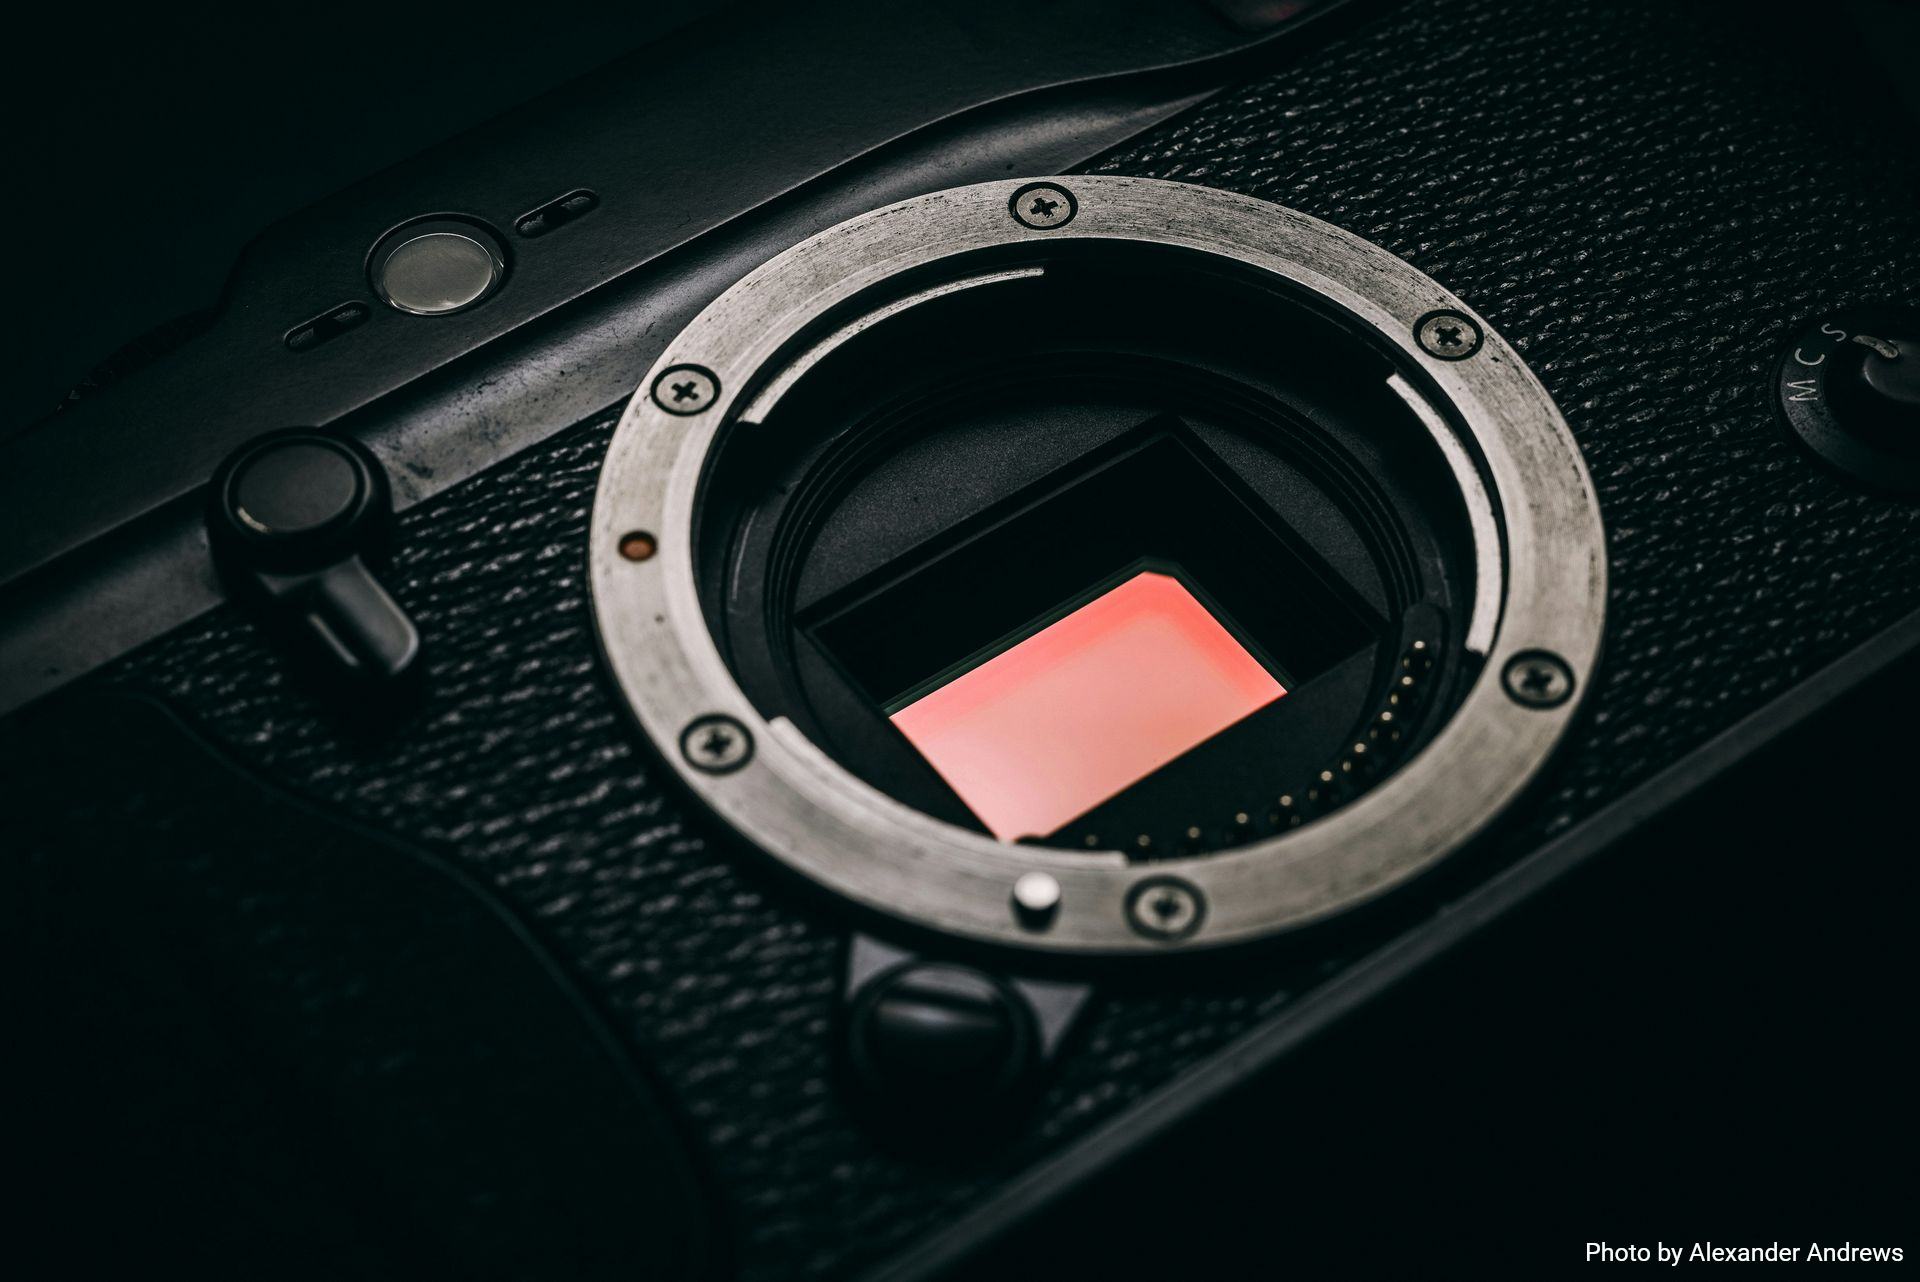
Inside the camera is the sensor (see image below) that is responsible for computing the digital image by capturing light (photons).
The sensor determines the number of pixels in the frame, but this alone does not define image quality. This is a common misconception in photography.
A great example is that modern smartphones are often marketed with extremely high megapixel counts, such as the 200 MP sensor in Samsung's latest Galaxy models. Yet, an image from a 12-24 MP DSLR or mirrorless camera is far superior in terms of image quality.
How is that possible?
The main reason is the size of the sensor. DSLR or mirrorless cameras have much larger sensors; approximately 864 mm2 instead of 70 mm2, which is more than 12 times the surface area.
So, even with fewer pixels, each pixel is significantly larger. Larger pixels can capture more photons per exposure. More photons means more signal, and more signal means a better signal-to-noise ratio. And also a wider dynamic range.
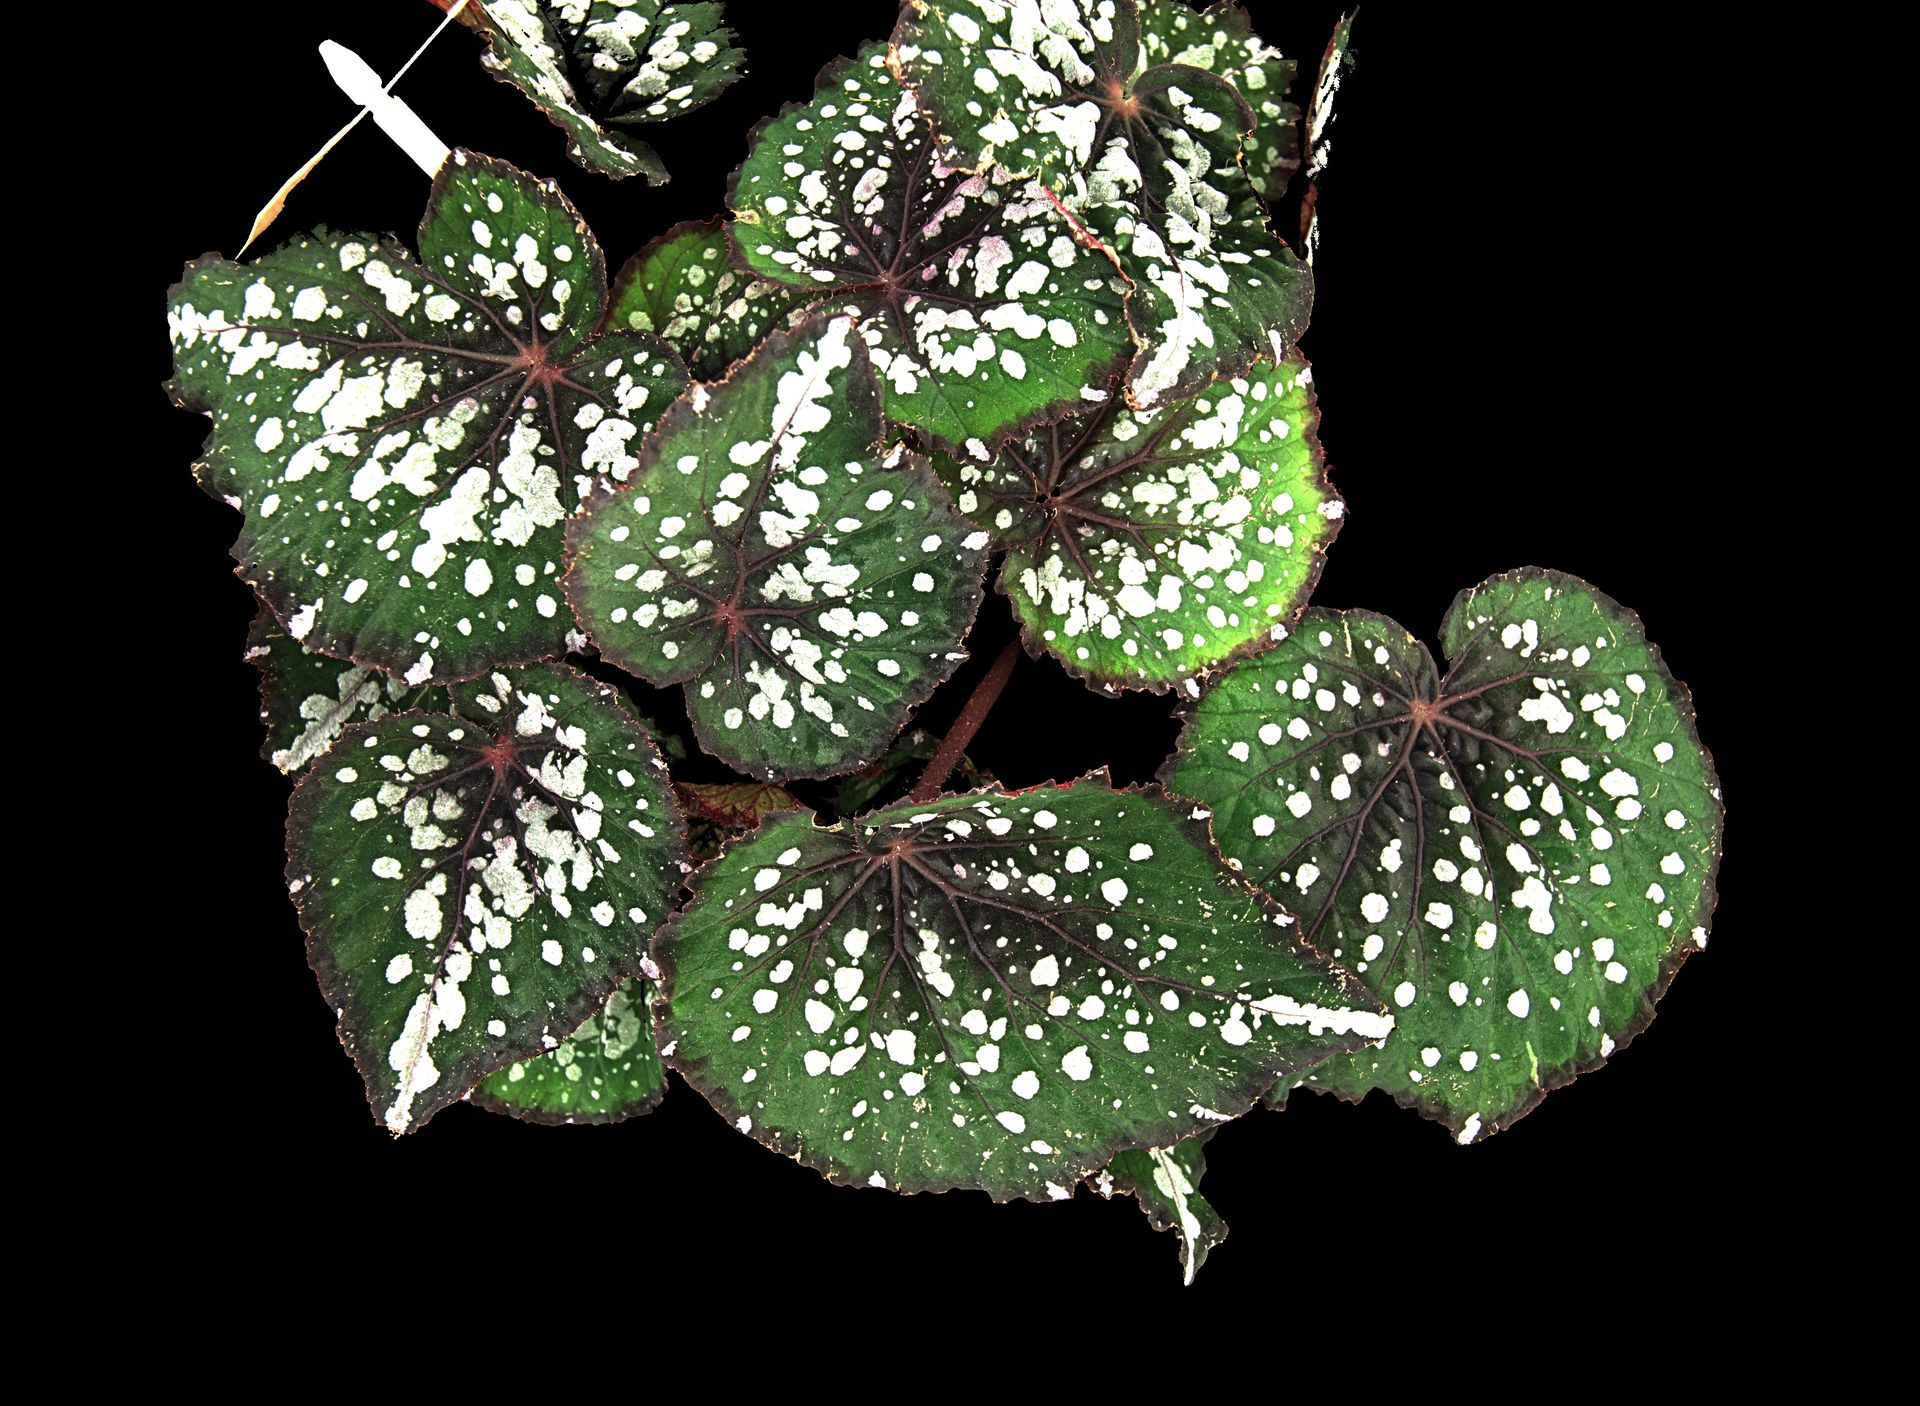
The latter is crucial for the images that are captured with the PlantExplorer systems, since dynamic range is the ability to handle weak and strong signals at the same time. As we need to measure minimal and maximal chlorophyll fluorescence (see blogs on PAM or OJIP) to determine things like photosynthetic efficiency, we need a wide dynamic range. Minimal fluorescence is only a tiny fraction of the fluorescent light.
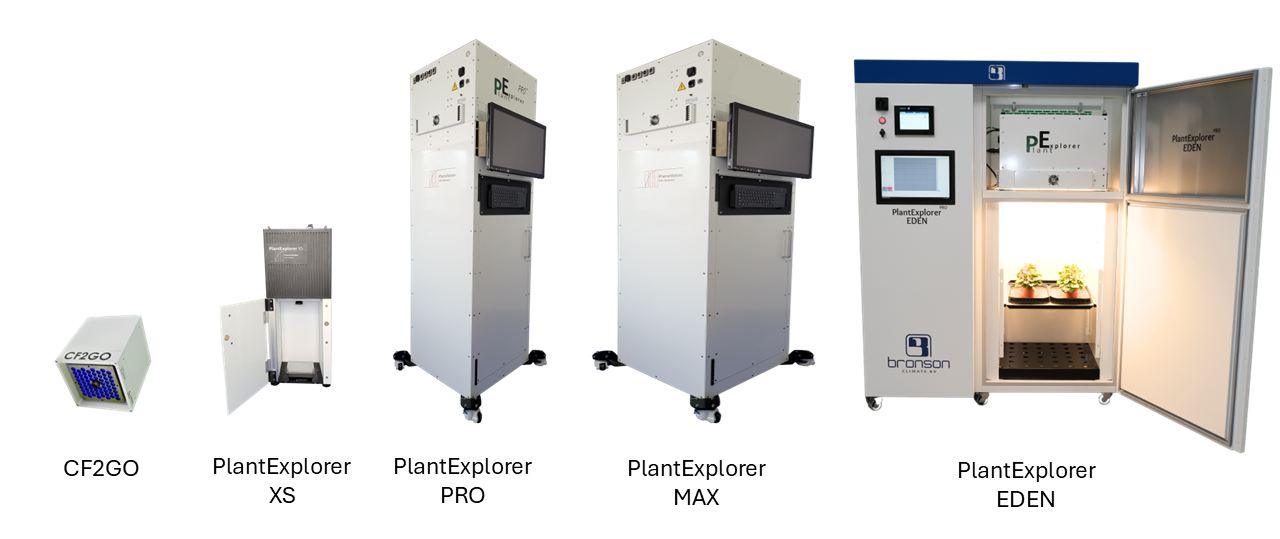
The PlantExplorer systems all contain the same camera sensor (aside from the CF2GO, which requires a high-speed camera). A table with the resolution of the different PlantExplorer systems is given below.
| System | Resolution (Mp) | Framerate (fps)* | Imaging area (cm2) |
|---|---|---|---|
| PlantExplorer XS | 5 | 30 | 18x18 |
| PlantExplorer PRO | 12.3 | 30 | 50x50 |
| PlantExplorer PRO FIELD | 12.3 | 30 | 50x50 |
| PlantExplorer MAX | 12.3 | 30 | 72x72 |
| PlantExplorer MAX FIELD | 12.3 | 30 | 80x80 |
| CF2GO | 0.02 | 671 | 10x7** |
* A fast camera with a high framerate that can measure full OJIP images at a resolution of 720x500 pixels, can also be fitted in the PlantExplorer systems. The imaging area at this framerate decreases.
** This image area is measured 60 cm away from the lens
Lenses
Aside from the sensor, a lens is required to guide and focus the light into the camera. Lens quality plays a major role in determining how much light reaches the camera’s sensor, and how accurately that light is projected. The lens controls field of view, sharpness, distortion, and depth of field of the image.
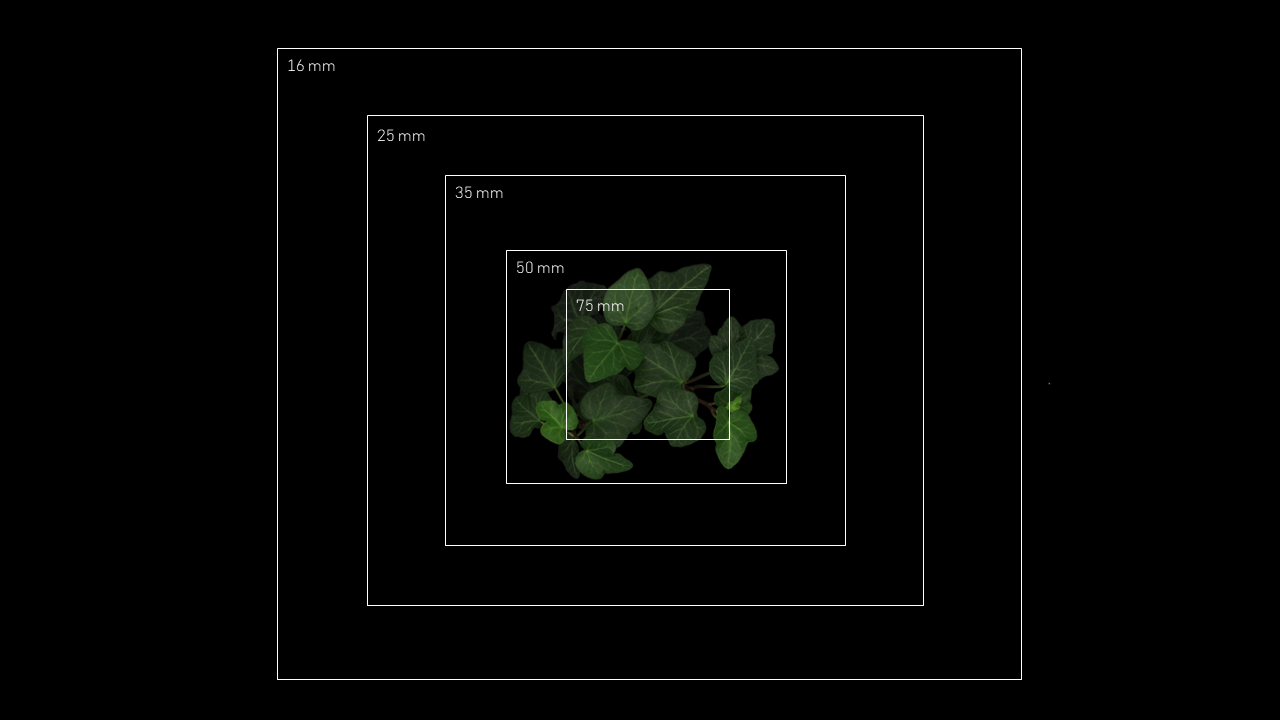
With each PlantExplorer system, a range of different lenses can be used on the cameras (see table below). These lenses all fit on the same C-mount that is on the camera. The differences between these lenses are the focal distance.
| Focal length | FIeld of view in PlantExplorer PRO (cm2) | Spatial resolution (µm/pixel) |
|---|---|---|
| 12 mm | 50 x 50 | 185 |
| 16 mm | 50x47 | 146 |
| 25 mm | 37x27 | 88 |
| 35 mm | 28x20 | 68 |
| 50 mm | 18x13 | 46 |
| 75 mm | 5,5x4 | 13 |
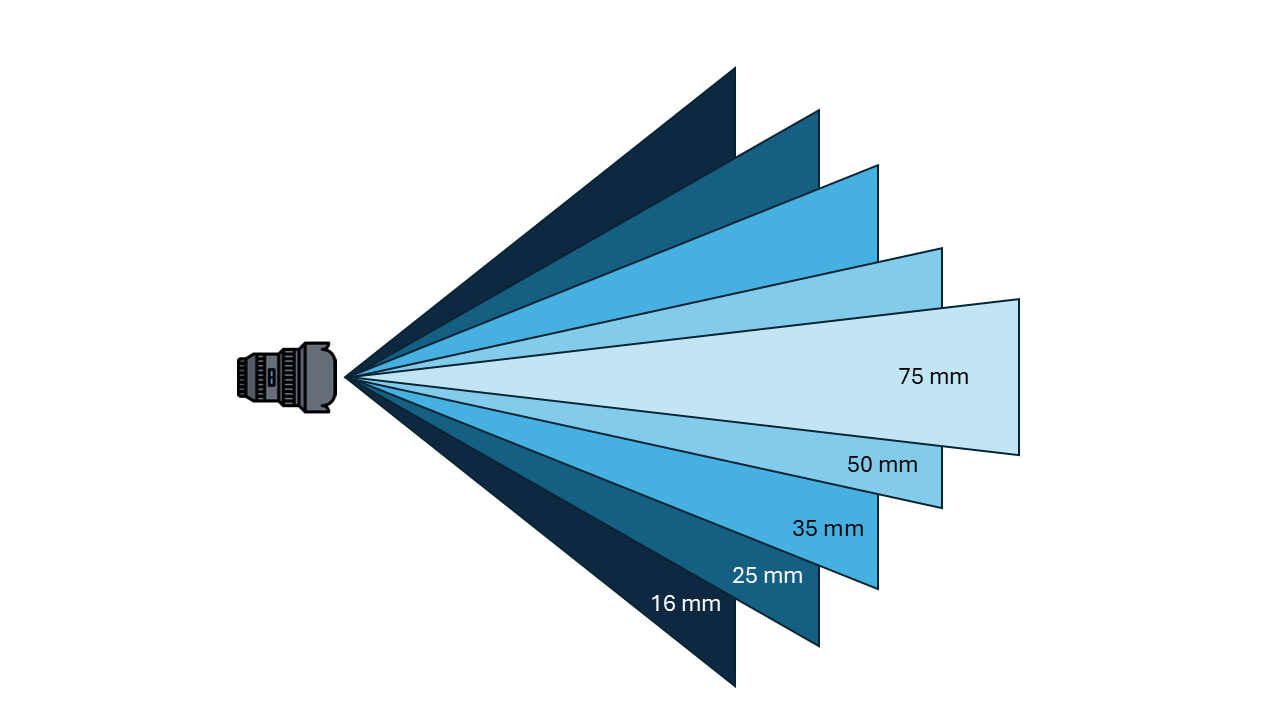
The focal distance (usually given in mm) refers to the distance between an optical glass and the point where all light rays meet on the sensor of a camera. However, in today’s lens technology, this does not simply mean the length of the lens, since light is transmitted through many different optical glasses. The focal distance of a lens has a significant effect on the image, since it controls the field of view and the magnification (Figure 1 and figure 2).
Choosing the right focal distance for your study is important for the amount of detail required.
- Lower magnification (e.g. 16, 25 mm): larger area, allowing better visuals for overall crop uniformity or detecting early canopy stress.
- Higher magnification (e.g. 50, 75 mm): smaller area, but more detail. For instance to identify leaf stress patterns from pests or diseases.
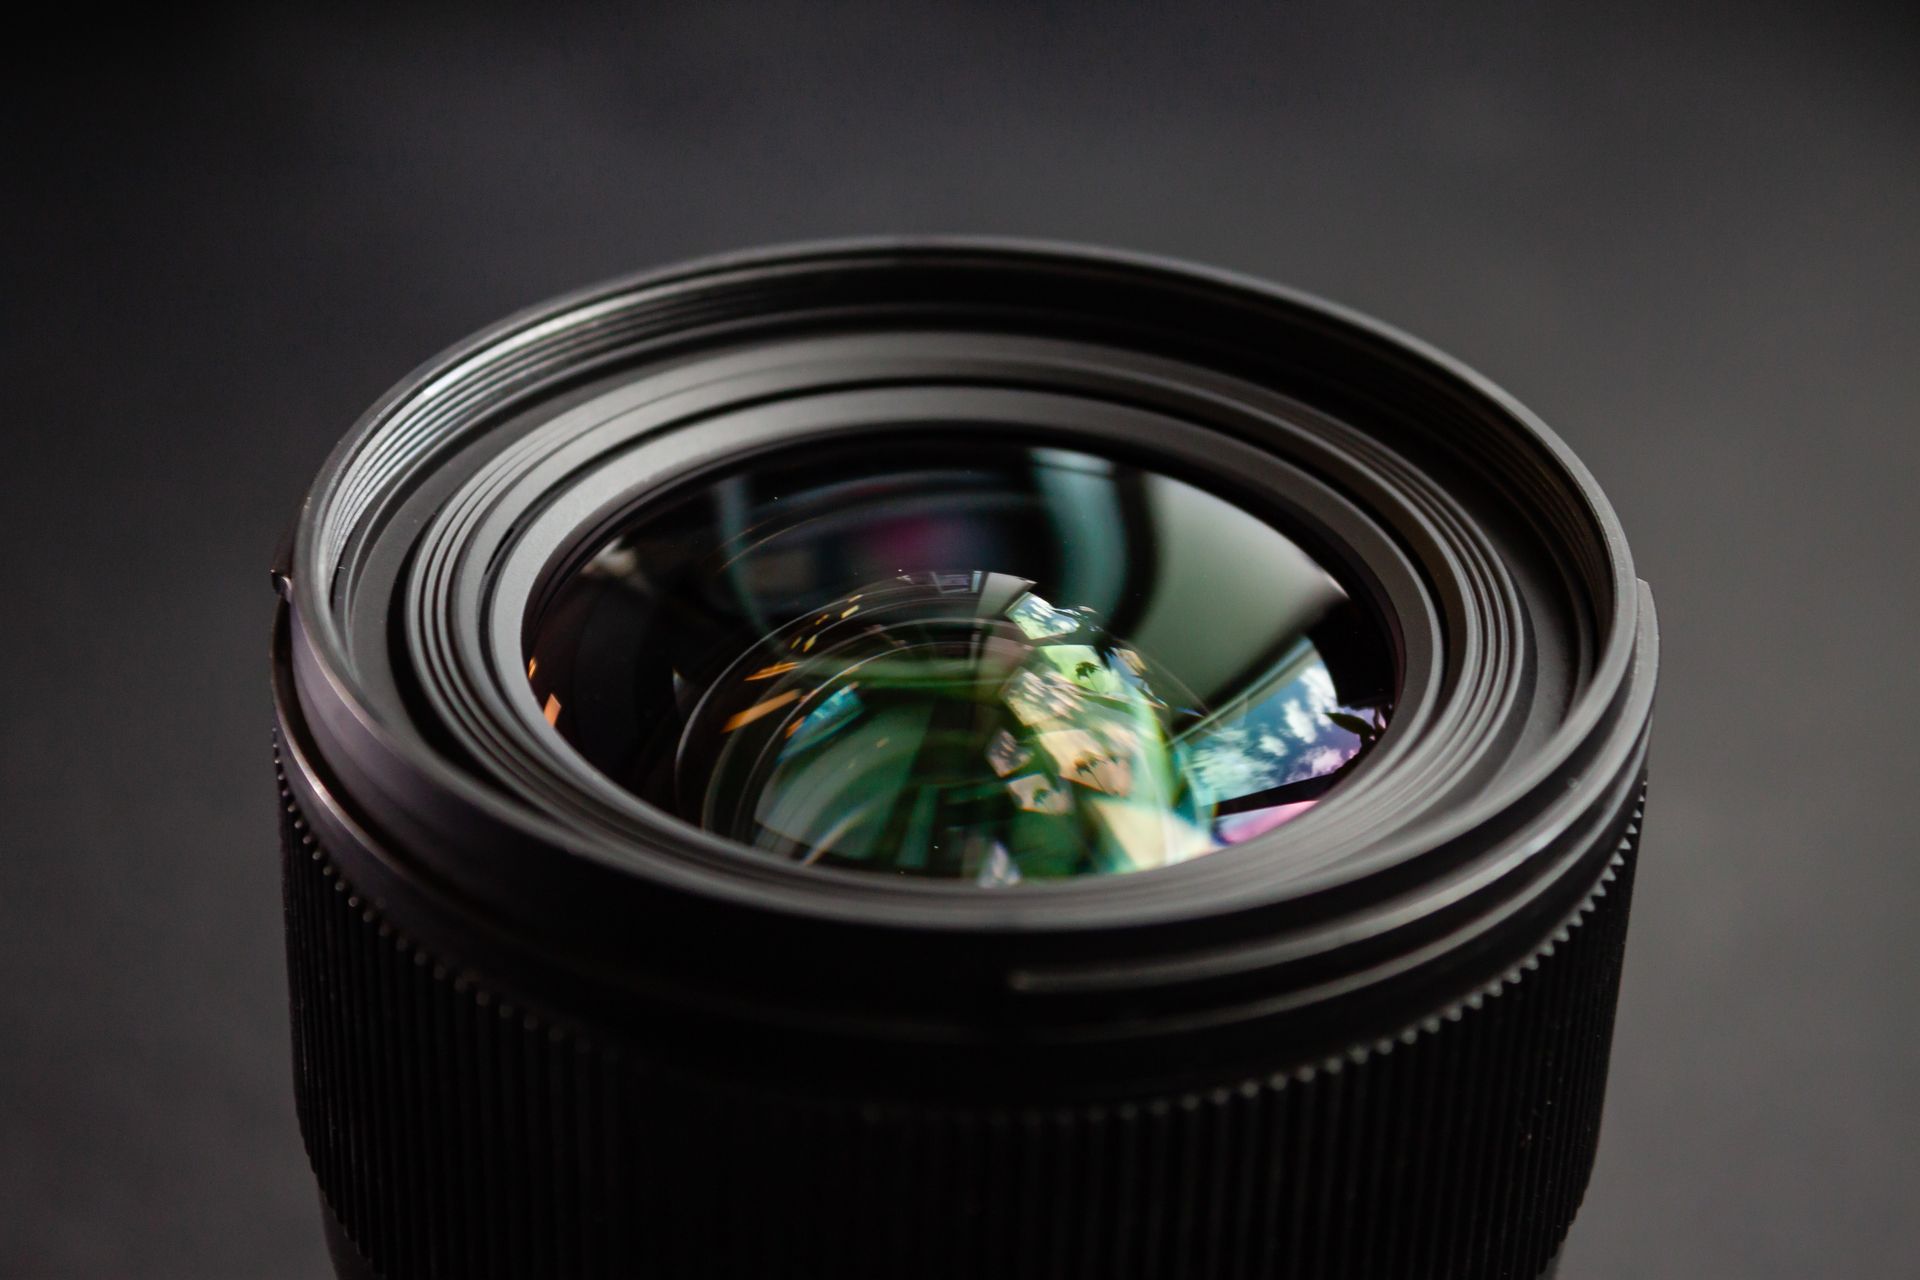
The lens also controls the amount of light coming through the opening, which is called the aperture (see image below). The aperture is indicated by f-numbers (e.g. f/1.8, f/8). A low f-number means a large opening and lots of light, while a high f-number means a small opening with little light.
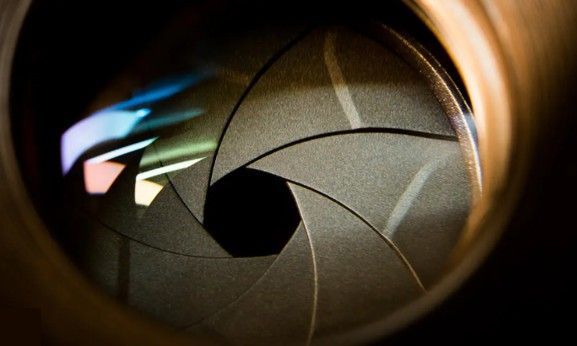
This opening of the aperture also controls the depth of field (the range of distance of the image that is in focus, sharp). A large opening (f/1.8) creates a shallow depth of field (blurred background), while a small opening (f/8, f/11, f/16) ensures that both the foreground and background are sharp (e.g. high f-numbers are needed for large distances or wide images). It is a balance between light and sharpness.
For plant imaging, we need the whole plant in focus, but we don’t need to image a great distance landscape, so we can choose slightly lower f-numbers. Therefore, the PlantExplorer systems use f/4.0, a number where the whole image of a plant is sharp and uniform, and also where the maximum optical performance of the lens lies (least distortion and vignetting).
Same sensor, different resolution
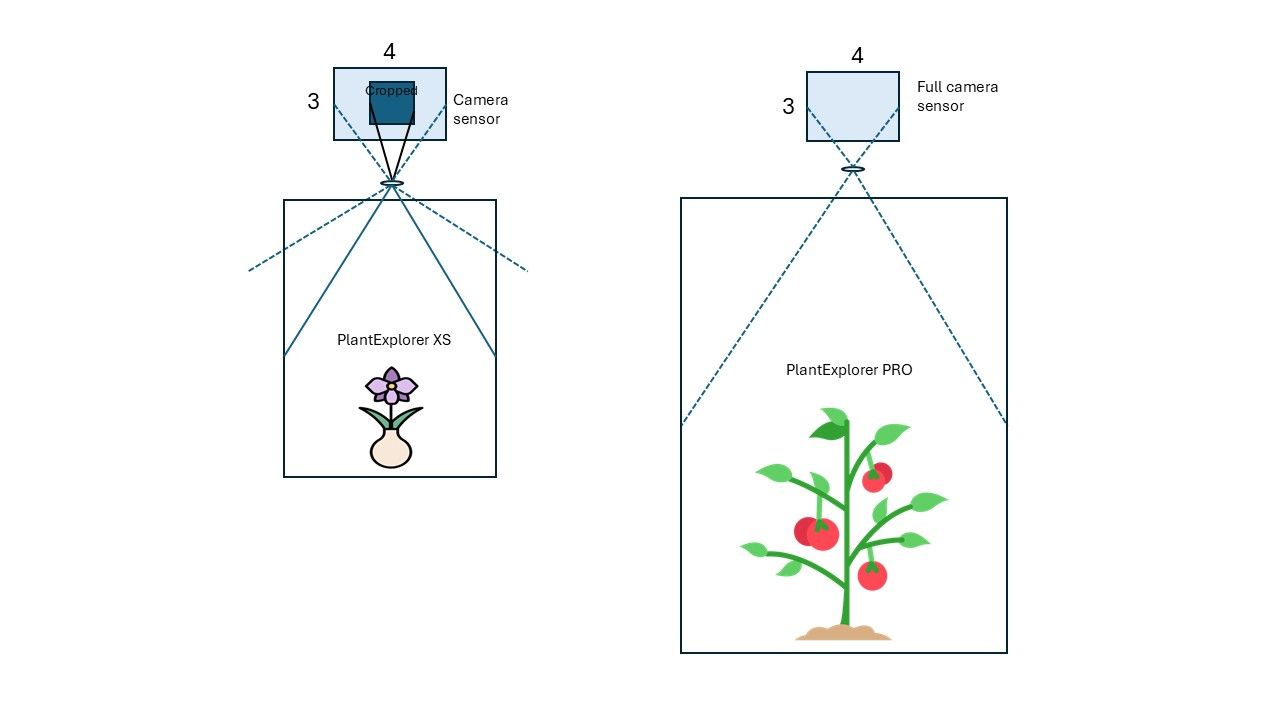
All PlantExplorer systems use the same camera sensor. However, you may have noticed that the PlantExplorer XS has a lower pixel count than other systems in the first table. Why is that?
It has to do with the size of the measurement chamber. Because the chamber of the PlantExplorer XS is relatively small, the system uses an 8 mm lens. This short focal length allows us to properly focus on taller plants within the limited height of the chamber. The trade-off, however, is that an 8 mm lens has a larger field of view, meaning it captures more area than needed, including a lot of the chamber walls.
Why not use a lens with a smaller field of view? This is due to the depth of field. Using a lens with a longer focal length requires a larger working distance to keep the entire plant in focus, which simply isn’t available within the compact measurement chamber. As with many imaging setups, this becomes a balance between field of view, depth of field, and physical space.
For this reason, the default configuration of the PlantExplorer XS uses an 8 mm lens, and the sensor is cropped to a square region to exclude the chamber walls from the final image (Figure 3). Cropping the sensor reduces the number of pixels.
Monochrome vs color pixel
The PlantExplorer imaging systems capture separate full-frame monochrome images to construct color images, giving pixel-to-pixel accuracy of the signal values. This is different than typical RGB cameras. How?
In essence, all camera sensors are colorblind (i.e. monochrome), meaning they only measure light intensity. A color image is created by separating the spectral bands of incoming light. This can be done by the use of specialized filters, using multiple sensors, or using stacked detection layers.
Nowadays, almost all modern digital (RGB) cameras are one-shot cameras, meaning they capture a color image in a single exposure. However, this is not as straightforward as it seems, because each pixel can only capture one color, either red, green or blue. But a full color image requires all three.
Therefore, most cameras use a Bayer filter (or Bayer pattern) as color filter array, in which each pixel captures only one color channel (Figure 4). Typically, this pattern consists of 50% green, 25% red, 25% blue, because green has the highest quantum efficiency and the human eye is most sensitive to green.

To reconstruct the full RGB image, these cameras rely on mathematical image processing techniques, such as debayering (or demosaicing), which uses algorithms to estimate (i.e. interpolate) the missing color information for each pixel based on neighbouring pixels (Figure 5).
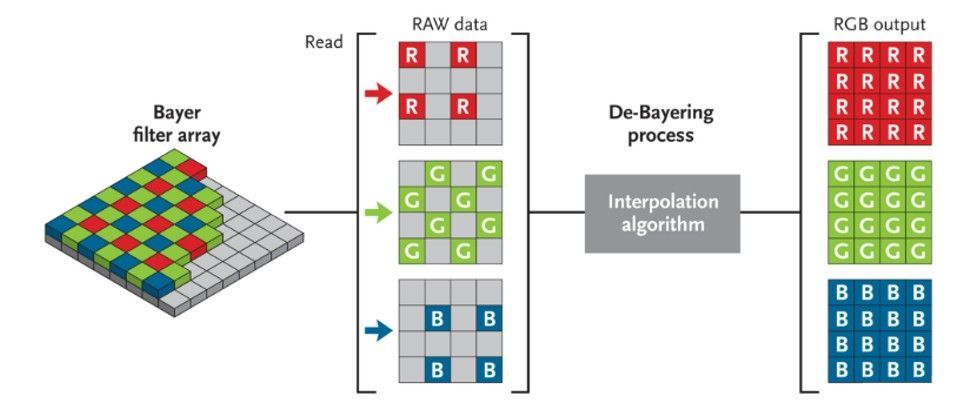
However, by estimating values instead of measuring, it reduces the color resolution and true color accuracy of the image (i.e. more calculation errors due to interpolation) (see table below).
In the cameras of PhenoVation, as well as other high-end imaging systems (for example used in astronomy), separate red, green and blue images are captured that are pixel-to-pixel accurate by using multiple filters. For this, a filter wheel is used that rotates between the different frames to another filter to capture another spectral band (see image below).
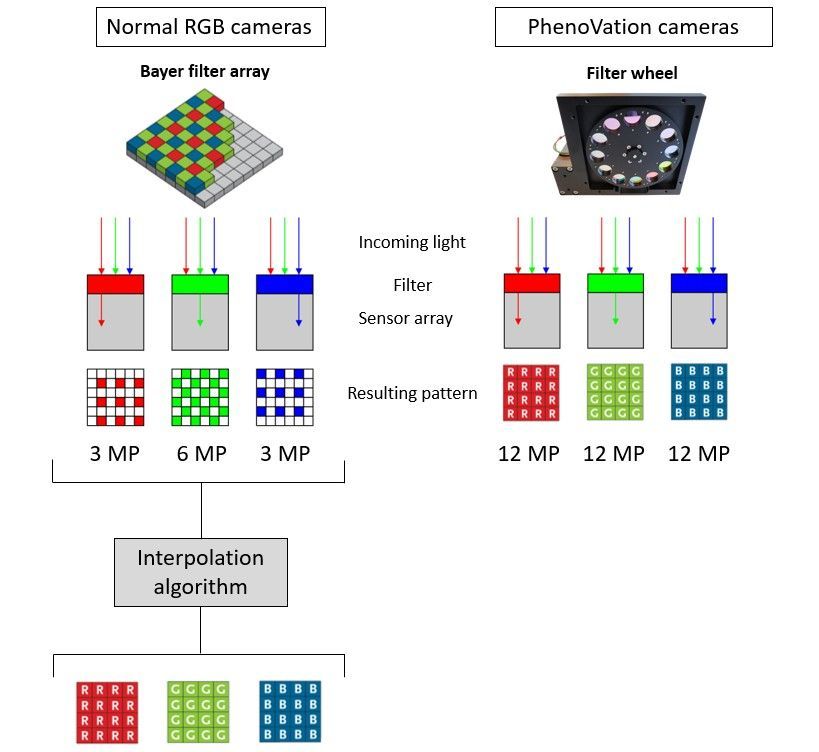
For each spectral band, all pixels yield a specific amount of signal in that particular wavelength band. These separate images are stacked, creating a true pixel-to-pixel RGB image. As each pixel contains actual measured information, the sensitivity to light also increases (e.g. Bayer filters block out 2/3 of the signal). This results in more reliable quantitative measurements, which is particularly important for subtle spectral differences.
In imaging, every approach comes with trade-offs. The table below compares the differences between standard RGB cameras and separate-channel imaging systems.
| Color pixel (debayering) | Monochrome + separate filters |
|---|---|
| Less sensitive to light | High light sensitivity |
| Lower resolution | Sharper images and larger contrast |
| More processing | Broader spectral sensitivity |
| Slower image processing | With a filter wheel: capturing the images takes more time |
| Spectral information | Possible pixel shift due to movement |
Pixel binning
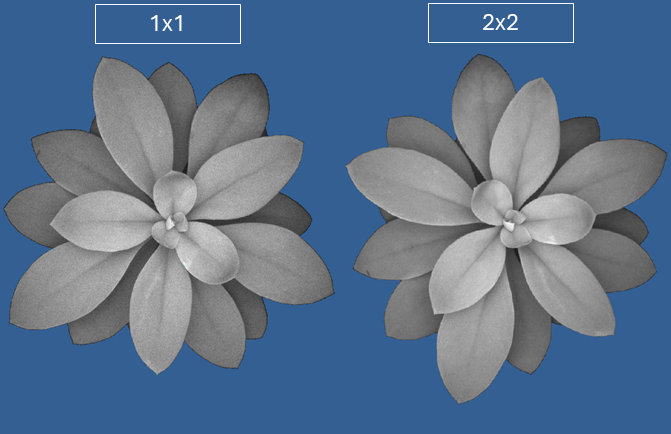
The PlantExplorer systems offer two sensor settings: 1×1 and 2×2. This is pixel binning.
Pixel binning is a technique that can be used to improve signal yield if needed. The trade-off, however, is that the resolution decreases. The 1x1 binning setting offers the standard highest resolution, 12.3 Mp (or 5 Mp in the PlantExplorer XS). Setting the binning option to 2x2 decreases that resolution to 3 Mp, (1.3 Mp for XS). What happens in the camera?
With 2×2 pixel binning, four connected pixels are combined into a single pixel (see image below). The signal from these four pixels is summed, resulting in a stronger overall signal and, consequently, an improved signal-to-noise ratio. The trade-off is that fewer pixels are used to construct the image, leading to a lower spatial resolution.
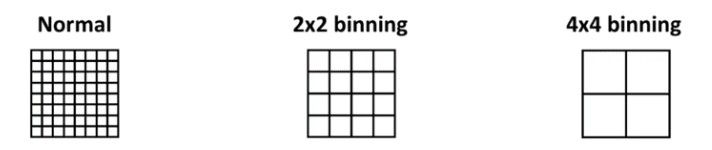
Pixel binning can be particularly useful when working with plants that exhibit low fluorescence signals, where boosting signal strength is more important than achieving maximum resolution. In practice, the impact on overall image quality is often minimal. A good example is shown in the two images below, where maximum fluorescence (Fm) images appear nearly identical at first glance. Only when zooming in does the trade-off between increased signal and reduced spatial resolution become noticeable.

Focusing
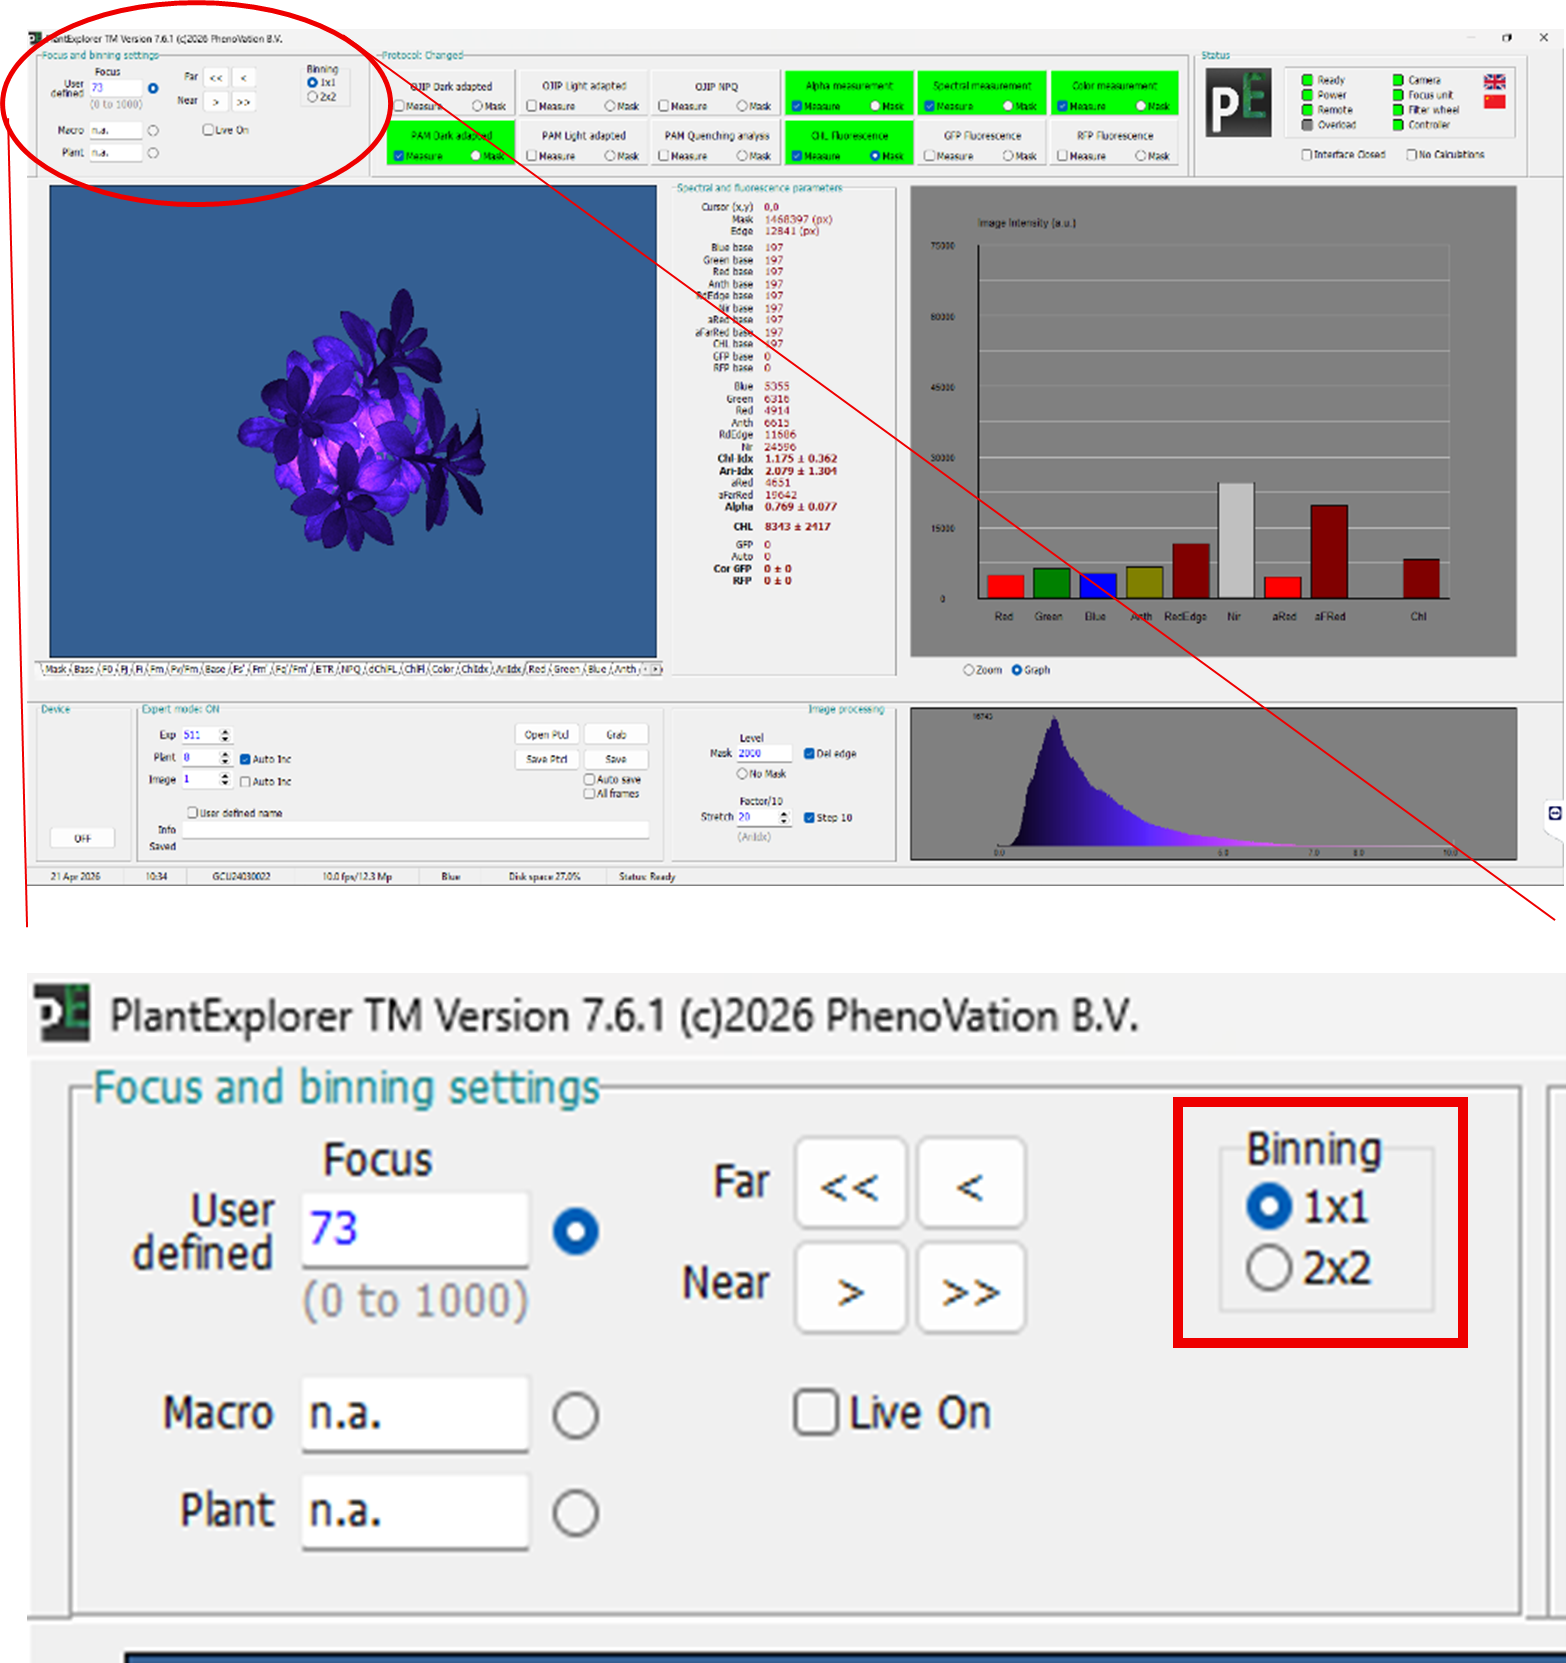
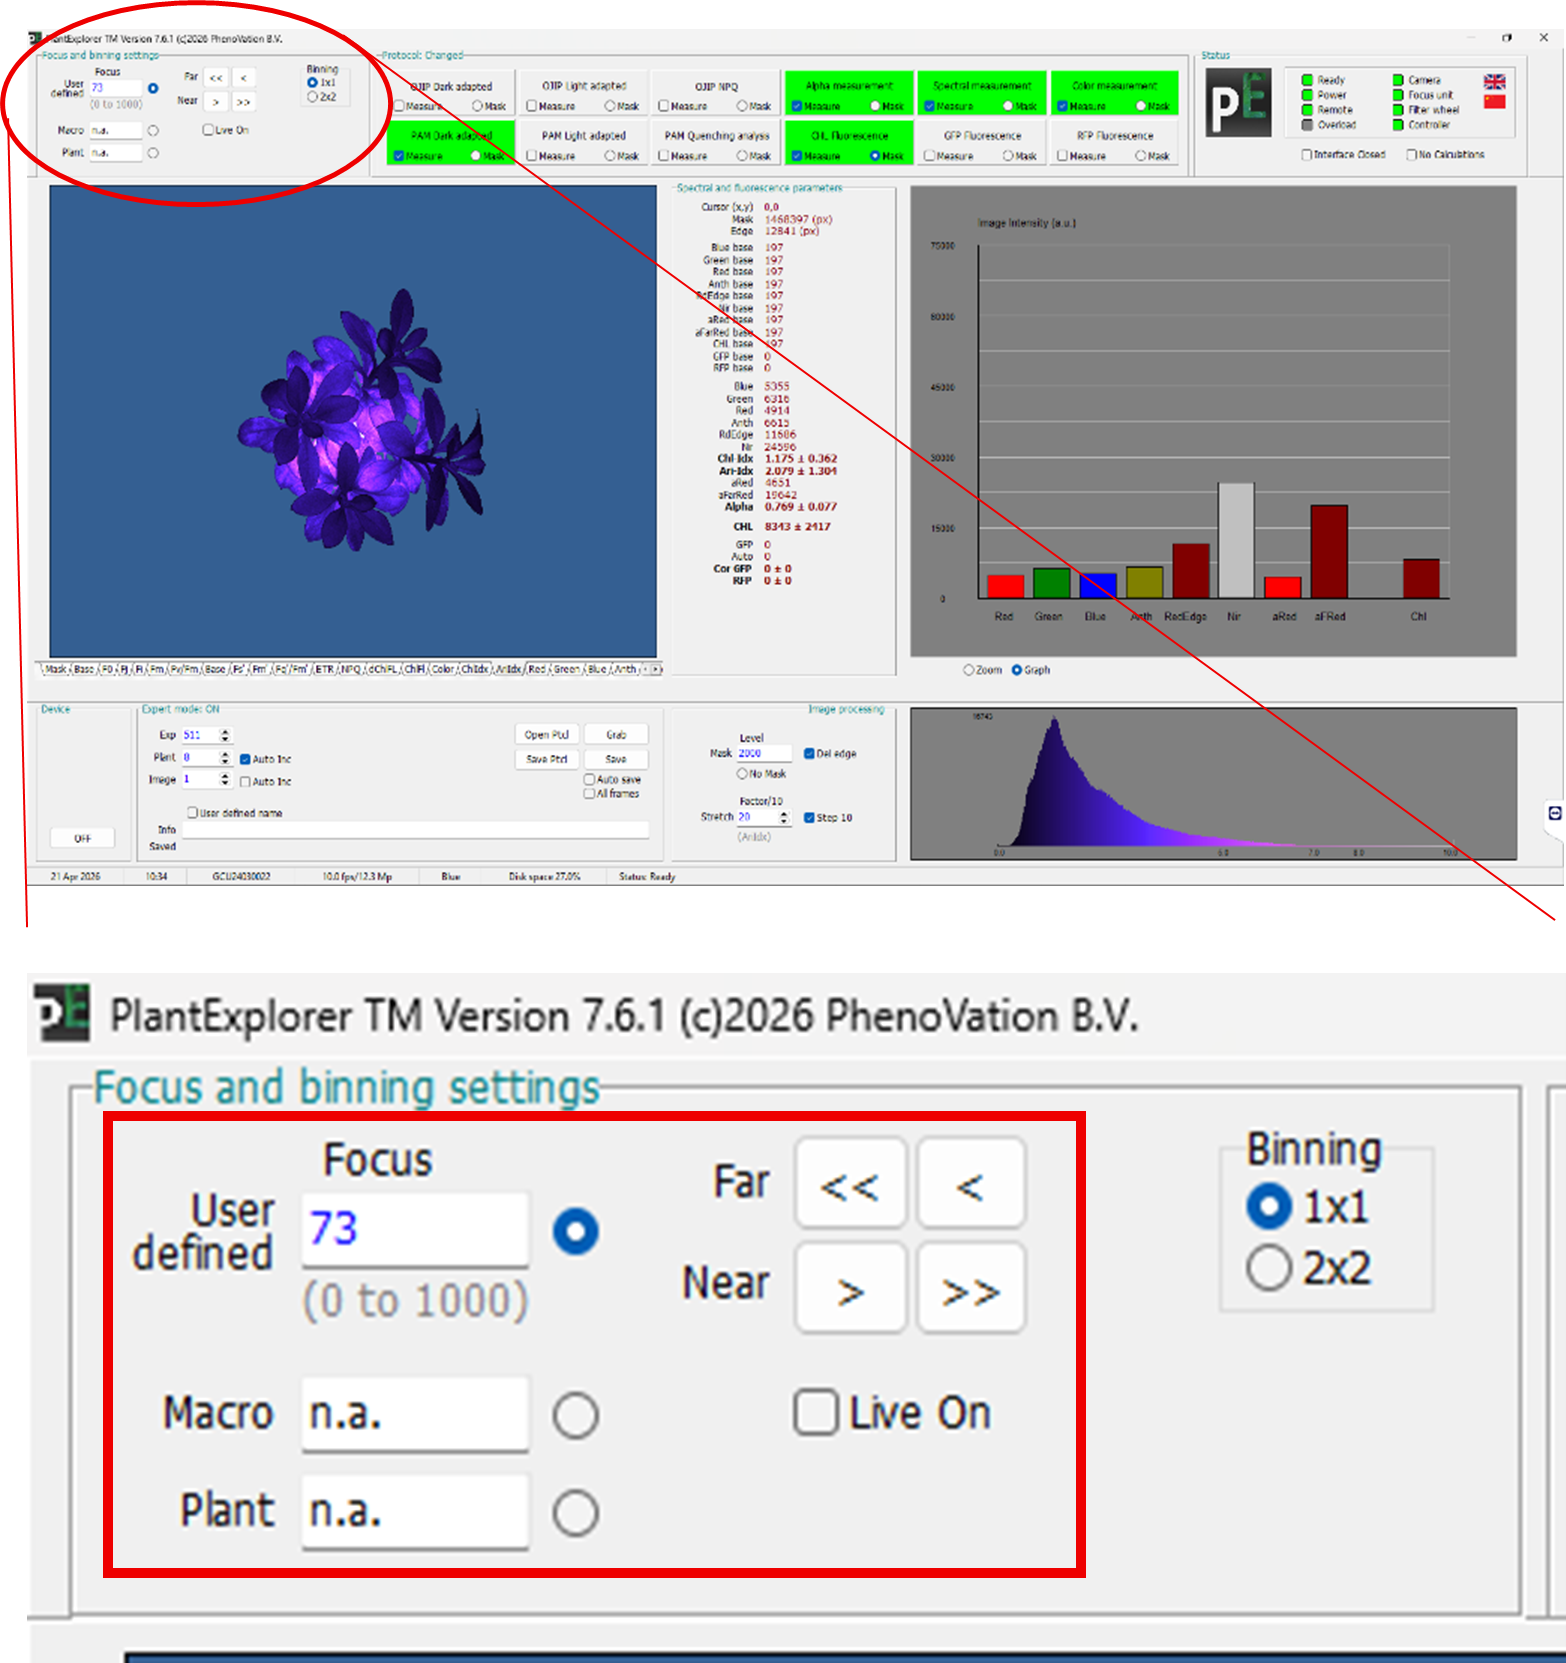
From the PlantExplorer PRO onwards, image focusing is handled through the controller software using a motorized focusing system.
In contrast, the PlantExplorer XS uses a manual focus wheel located on the lens.
By enabling the ‘Live On’ option in the controller software, you can view a live video of the plant and manually adjust the focus to the correct distance. Note that this should not be done on a dark-adapted plant where you want to measure chlorophyll fluorescence, as the live view requires illumination and will disrupt dark adaptation.
After choosing the best lens for your system, setting the required pixel binning, and focusing the plant, you can start measuring, confident that image quality and consistency are not limiting factors.